Many music enthusiasts are finding solutions on saving Spotify music to hard drive. Congratulations, this is the perfect guide for you no matter for what purpose you want your songs stored in external hard drive and play them in MP3 format. Read on to see why.
Don't Miss:
Spotify Ripper - How to Rip Music from Spotify as MP3
[SOLVED] How to Block Ads on Spotify Without Premium
Part 1. Why Saving Spotify Music to Hard Drive
Purpose 1: Back Up Songs on Hard Drive
In this digital era, a backup on hard drive is very crucial because it can cause least damage when one of your device is broken. If unfortunately, your music folder on Android phone is deleted accidentally, you can copy the folder from external hard drive to your phone without heart-breaking.
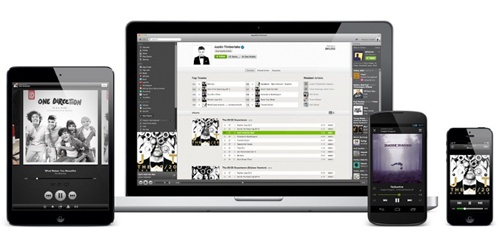
Purpose 2: A Portable Access to Play Music on Different Devices As You Wish
I understand you very much because I am also obsessed with music. I listen to music a lot every day:
* When reading books
* When doing housework
* When taking a bath
* When self-driving on expressway
...
Part 2. Play Spotify Music in Car Offline with External Hard Drive
Sometimes I play Spotify music on Android, iPad and my working computer. however, when I try to play music in my car, there's a little trouble:
Most tutorials for playing Spotify music in car is either using USB cable, bluetooth or internet connection. All these methods will either consume battery of our phone or use phone data a lot. None of them are the best choice when we are going for a long way self-drive.
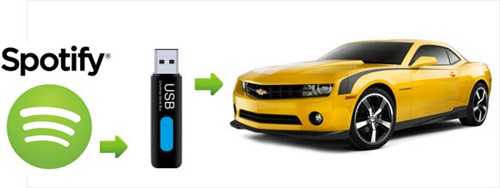
Thus, transferring Spotify music to hard drive is, without doubt, the most perfect and practical option to play music offline in car.
Part 3. How to Download Spotify Music to Hard Drive
First thing first, we need to remove DRM restriction of the Spotify music. DRM, short for Digital Rights Management, is a layer added to protect artists' song from being illegally used. Therefore, songs on Spotify and other music streaming services can't be copied or played on some devices unless DRM restriction is removed.

To remove DRM restriction of Spotify songs and convert it into MP3, you need to prepare: A computer, A USB hard drive and a powerful software - TuneFab Spotify Music Converter.
TuneFab Spotify Music Converter is a almighty music converter that meets all your requirements on song format converting. It enables you to:
1. Download Spotify Music Freely;
2. Simply Drag and Drop Songs into Converter;
3. Convert Spotify songs to MP3, WAV, M4A, FLAC;
4. Customize Audio Parameters including Bit Rate and Sample Rate.
Now, let's head to the simple but powerful troubleshooting part.
Step 1. Download and Launch TuneFab Spotify Music Converter
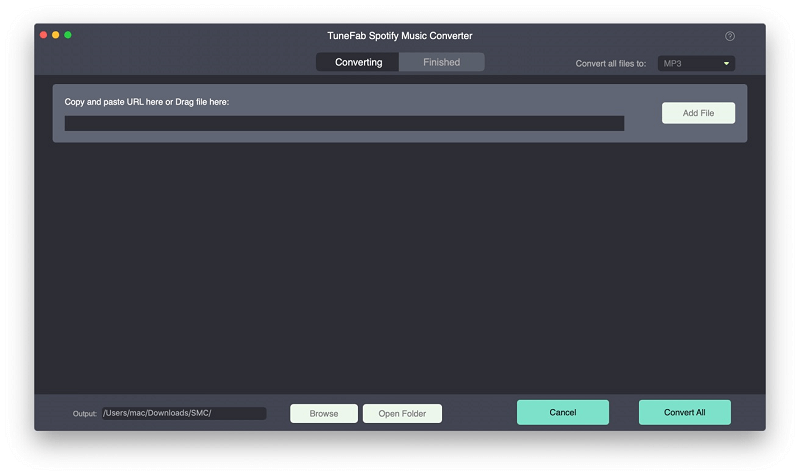
First of all, download and install the Spotify music converter as instructed step-by-step. Then, when finishing the installation, launch the program, and you will see the interface as below.
Step 2. Add Spotify Songs
If you are a premium Spotify users and have downloaded some songs, you can hit on "Add Files" in the top-left corner of the interface or drag songs, albums, playlists or tracks from Spotify. If you don't use a paid Spotify plan, you can't download Spotify songs. Searching the songs you want to convert and copy and paste the link into the search bar is also available. Then, click "Add".

Note: If you are considering whether to purchase Spotify Premium, you can check this post: Spotify Free vs. Premium: Should I Pay for It before you make a decision.
Step 3. Select Songs to Convert
Now, as listed in the program, you are allowed to tick to select the songs you want to convert, after choosing all you want, click "Add" again.
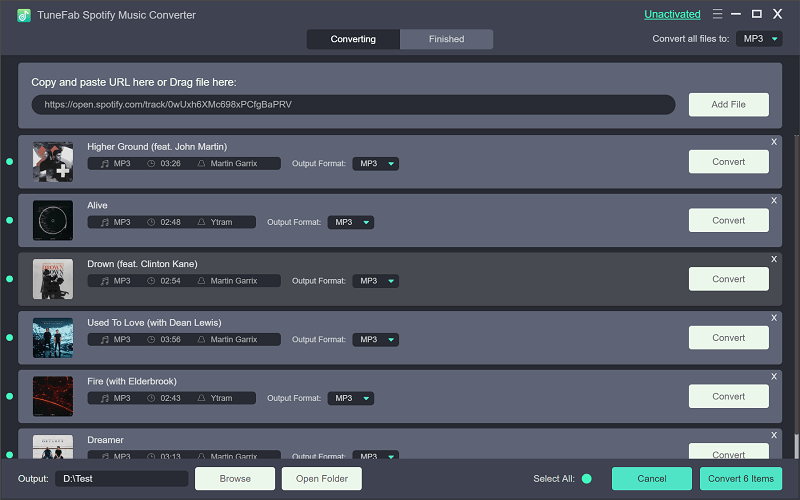
Step 4. Set MP3 as Output Format
Click on the "Options" button next to "Add Files". On the pop-up window you will see two choices, "General" and "Advanced", hit on "Advanced" and choose "MP3" in the drop-down menu next to Format. You can also choose SampleRate and BitRate before conversion.

Step 5. Set up Output Path
By clicking "Options" > "General", you can change the default output folder to any folder that you want to store your Spotify songs.
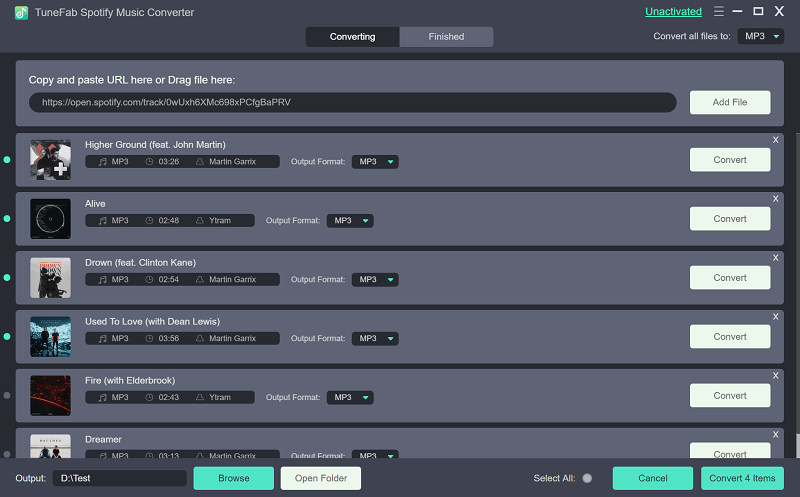
Step 6. Start Converting Spotify Songs
Now, everything's ready, just hit on the "Convert" option and you can start the conversion.
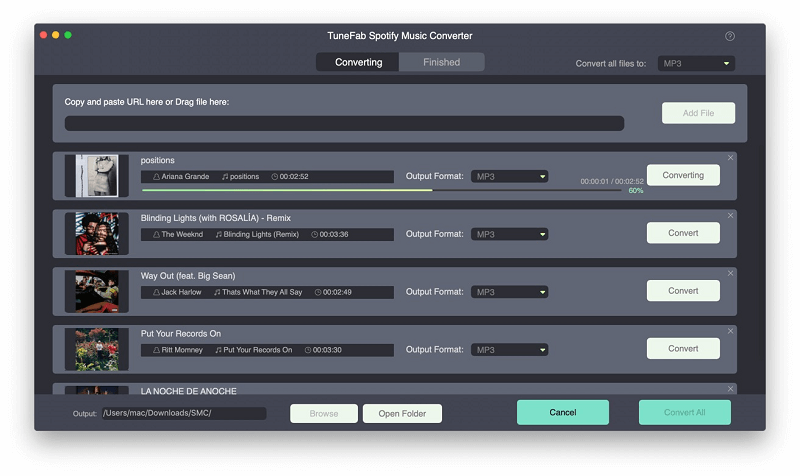
Step 7. Copy MP3 Songs to External Hard Drive
Plug in your external hard drive to the USB port of your PC, and wait till the driver is automatically installed on your computer. Locate the output path you just set-up in Step 5. Now you can copy and paste the MP3 files into your hard drive as needed.
That's it. With these simple steps, you can remove DRM restriction of Spotify music and convert MP3 songs into your hard drive. Playing Spoyify music offline in car becomes a piece of cake.


