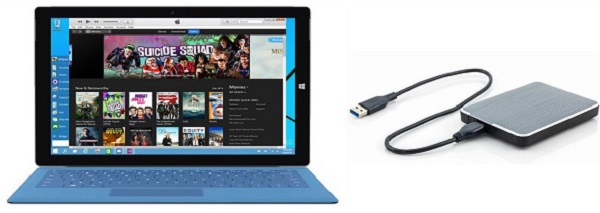
With tons of your iTunes movies keeping on your computer and the warning of running out of the memory of your computer, you may be perturbed how can you save the memory of your computer if you can keep all your iTunes Movies on an External Hard Drive rather than just delete from your computer. Never mind you will find the ways I am going to introduce to you commendably and desire to have a try. Come with me!

Part 1. What Kinds of iTunes Movies Can be Saved?
It is confused that not all the iTunes Movies can be saved on the external hard drive. It is because that your iTunes Movies are divided into 2 kinds. One is iTunes purchased movies, and the other is iTunes rental movies. For the former, you can save to your external hard drive by a tool. For the latter, the situation is desperate. If you have rent the movies from your iTunes and the availability date of your movies aren't exceeded, you can save it to your external hard drive. However, as for your rental movies from Apple TV and others iOS device, these movies are not allowed to move to your external hard drive.
Part 2. How to Save iTunes Movies to External Hard Drive
Knowing what kinds of iTunes Movies can be kept on an external hard drive, it will pave the ways to storing iTunes movies on the external hard drive.
Required Tools: iTunes Movies, an external hard drive, and an iTunes Movie converter.
Why A Converter can be listed on the required tools list?
All the iTunes Movies are all protected by Digital Right Management. In other words, your iTunes Movies are forbidden to copy to your external hard drive by importing the simple shortcuts, like Ctrl+c and Ctrl+v. So a converter is necessary for your following actions. Here I am going to recommend an iTunes DRM converter, the TuneFab M4V Converter.
TuneFab M4V Converter is designed for breaking the DRM from your iTunes Movies into the non-DRM format with totally high quality. With the help of this converter, you can convert your iTunes Movies into MP4 format with bathes, so you will get rid of convert your movies one by one.
Knowing all the common sense of your procedure, now it is significant parts to operate and save it to your external hard drive with me step by step.
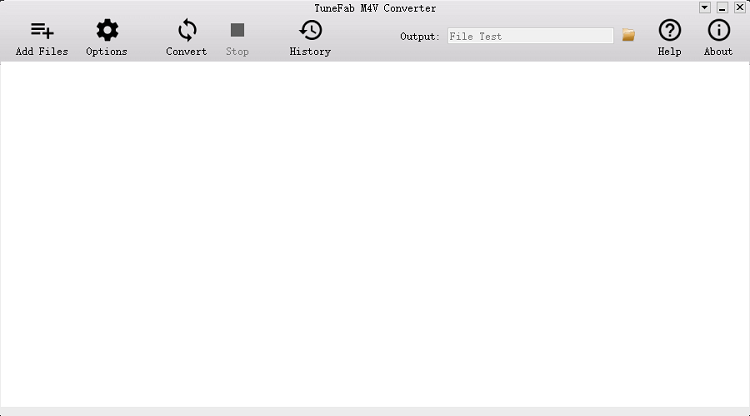
Step 1. Run the M4V Converter
Note: Before you getting ready for converting, something you are supposed to know that this Free Trial Windows Version of M4V Converter does not allow to convert into the DRM-free format. Hope you can wait for the updated version.

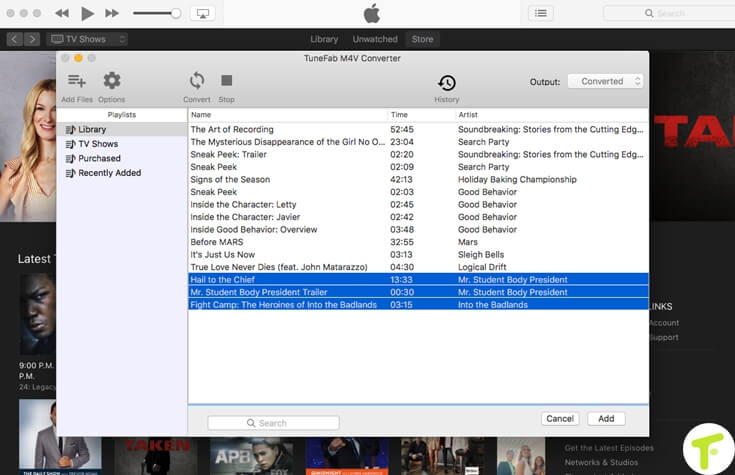
Step 2. Select your Movies by Add Files
After running the M4V Converter, you can click the Add Files to add your iTunes Movies. Also, you can also select your audio tracks and subtitles to convert.

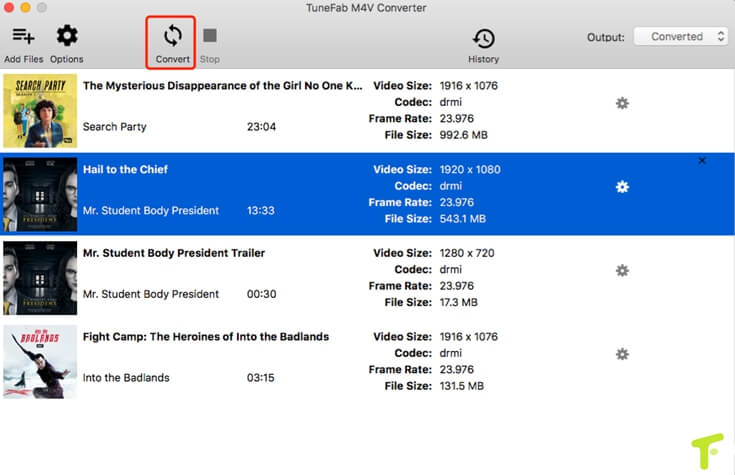
Step 3. Click the Convert to convert your files
After getting ready for all the movies you want to convert, you can click to convert.

Note: For free trial version, the duration of your converted files are 5 minutes long. With this 5 minutes free trials, you can check the quality of converted files so as to continue to purchase the ultimate version to remove the time limitation.
Step 4. Add these Converted files to your External Hard Drive
After getting the converted files, you can copy them into your external hard drive, USB driver and more.
Here is the video you can learn more about m4v and mp4, please learn it for enhancing your iTunes Movies.
Now it is your turn to adding your iTunes Movies to your external hard drive. And then you will see the magic and the power of this M4V converter. Enjoy your computer with the spared shortage after adding to your external hard drive from this post! If you have others puzzles, please let me known by writing a comment in below.
More Topics:
▪Take A Quick Tip: How to Rent Movie on iTunes


